pvigier's blog
computer science, programming and other ideas
Vagabond – 2D Light System
This week, I have worked on a light system. It will allow me to simulate a day-night cycle and to create a nice atmosphere during night or inside dungeons and caves.
The Big Picture
My light system uses two textures.
On the first one, I draw all the visible objects without any particular processing.
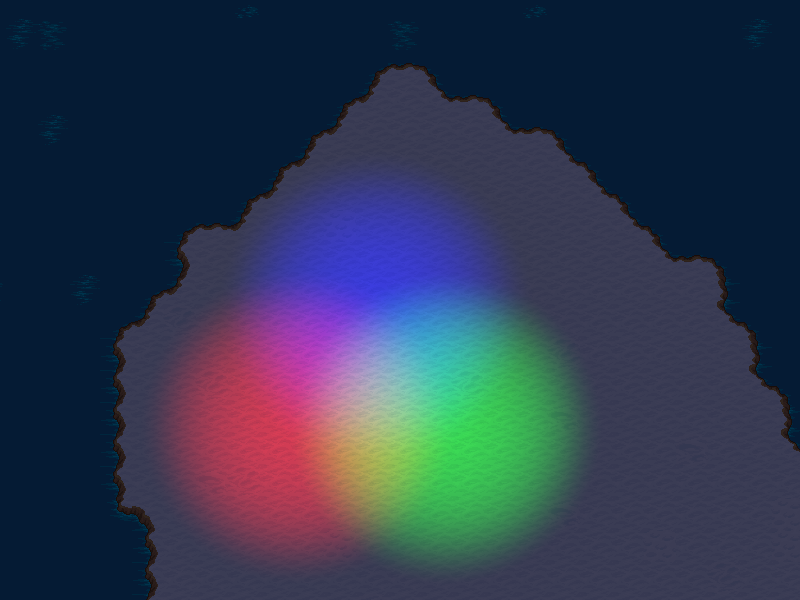
The other one is cleared with the ambient light color. Then, I draw the contribution of each light one by one with additive blending.
Finally, I draw the lighting texture on the first one with multiplicative blending.
Here is an animation to sum up the process (sorry for the compression artifacts):
Light Shading
For now, my light system only supports point lights.
A point light is defined by the position of its center, a radius, a color and an intensity.
For each point light that is visible on screen, I draw a square centered on the light of size \(2r\), where \(r\) is the radius, and use a shader to set the color of each pixel in the square.
The next step is to choose a formula to describe the color received by a point from the light.
As a point light emits the same light in all the directions, the color received only depends on the distance. Hence, we can use a formula which looks like that:
\[C(d) = attenuation(d) \times I \times C_{light}\]where \(I\) is the intensity, \(C_{light}\) the color of the light and \(attenuation\) a mapping such that \(attenuation(0) = 1\) and \(attenuation(d) = 0\) for \(d > r\).
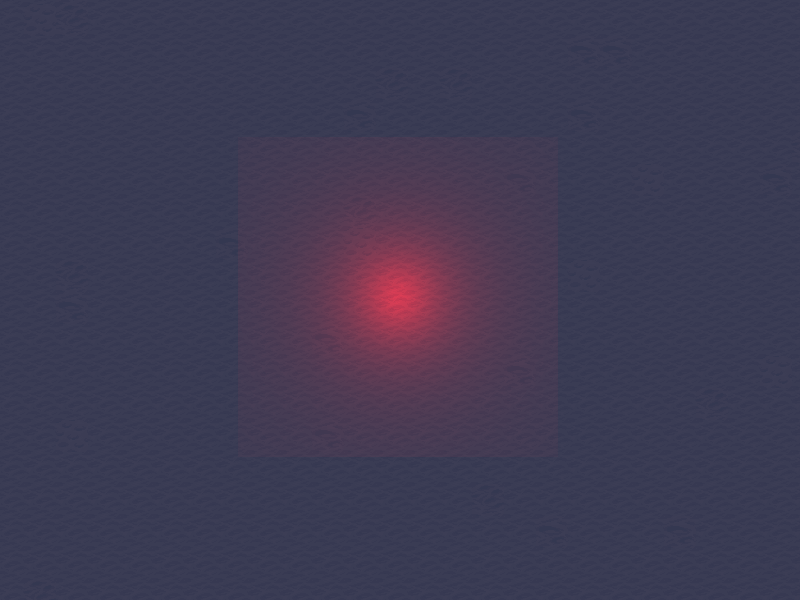
My first try was to use a well-known formula for the attenuation of 3D point lights:
\[attenuation(d) = \frac{1}{1 + K_l \times d + K_q \times d^2}\]Unfortunately, it does not work well as the center is bright but the luminosity decreases quickly. Moreover, it is never zero thus the radius of the light must be really large compared to the useful lit area in order to not see the seam at the border of the square. Here is an example where the seam is visible:
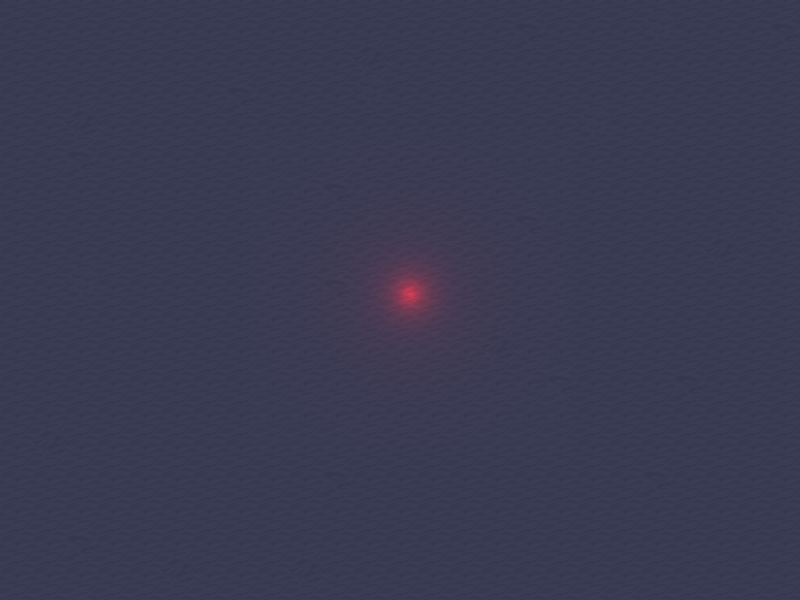
Here is another example with a point light of same radius, intensity and color but I tweaked the parameters \(K_l\) and \(K_q\) so that the seam is invisible. However, the lit area is then even smaller:
Consequently, I looked for other formulas, that are maybe less physically realist, but that gives better results.
I start with a simple linear attenuation:
\[attenuation(d) = \max(0, 1 - \frac{d}{r})\]What is nice with this formula is that the luminosity is zero for points outside of the disk of radius \(r\). However, in my opinion, the attenuation is a bit brutal near the border:

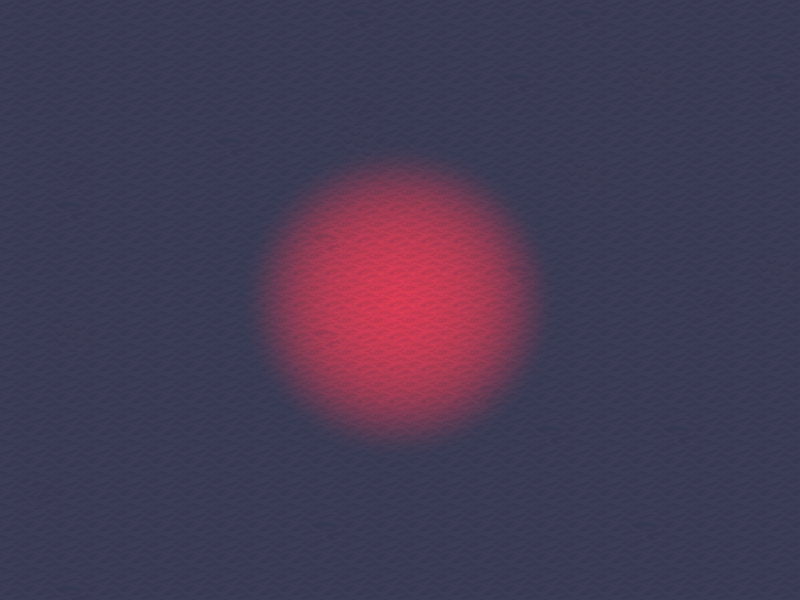
To obtain a smoother attenuation, I simply square the previous formula to obtain a quadratic attenuation:
\[attenuation(d) = \max(0, 1 - \frac{d}{r})^2\]I find the results much more appealing:
Finally, I advise to use a texture that supports HDR with tone mapping. Otherwise, it is likely that the colors will saturate as additive blending is used.
Shadows
For now, we do not take into account any obstacle for the light. We simply draw a square around the light.
To be able, to take into account walls and have shadows, I use a more complex shape. I compute the set of points that are visible for the light center, this set is called the visibility polygon.
There are some good resources on the web that describe algorithms to compute the visibility polygon from naive methods to more elaborate ones. Here are two articles that I found useful to gain some intuition: here and there.
Here is a small demo of my implementation:
I may write a separate article describing my implementation of an \(O(n\log{n})\) algorithm to compute the visibility polygon. A bit like what I did for Fortune’s algorithm, but with even more details as this algorithm is simpler.
Once we have computed the visibility polygon, we just have to render it with the shader to obtain shadows:
Here is an example in a cave:
Here is another video in a cave but this time, I display all the walls in red, the walls that intersect with the light bounding box in yellow and the visibility polygon in green:
Conclusion
That is all for this article on my light system. I may blur the lighting texture to have smoother transitions to shadows. I may also add other types of lights such as spotlights and area lights later.
Next week, I will work on the physics system.
See you next week for more!
If you are interested in my adventures during the development of Vagabond, you can follow me on Twitter.
Tags: vagabond game-engine